3 Ways to Install Ansible on Windows
Jan 22, 2025
How do I install Ansible on Windows?
This is a common question for those of you who are just getting started with Ansible or are curious about how to use it from a Windows machine.
When I talk about installing Ansible, I'm referring to installing the Ansible control node—the machine from which you run ansible or ansible-playbook commands.
Since Ansible is not directly supported on Windows, you can't just install it natively. But there are three approaches that let you keep your Windows machine without having to switch over to macOS or Linux.
- Windows Subsystem for Linux (WSL)
- A local Linux virtual machine
- A containerized environment using Docker and Red Hat Universal Base Image (UBI)
Let's break these methods down.
1. Install Ansible Using Windows Subsystem for Linux (WSL)
Microsoft's Windows Subsystem for Linux (WSL) is the quickest, most straightforward way to get a Linux environment on Windows (in fact, this is the method I use in the Ansible for SQL Server DBAs: Level 1 course). If you're running Windows 11, you can seamlessly manage Linux tools without leaving your primary OS. I've already written a detailed post on how to install Ansible in WSL, which you can find here. Below are the general steps:
- Enable WSL
- Install a Linux Distro (Ubuntu works well)
- Launch the Distro, update packages, and install Ansible (and optional tools like ansible-lint)
- Start creating playbooks and using Ansible—Visual Studio Code, along with the Ansible plugin, is a great choice when working with Ansible's YAML files.
Advantages of WSL
- Seamless integration with Windows tools.
- Lightweight compared to a full virtual machine.
- Ideal if you want a near-native Linux environment on Windows.
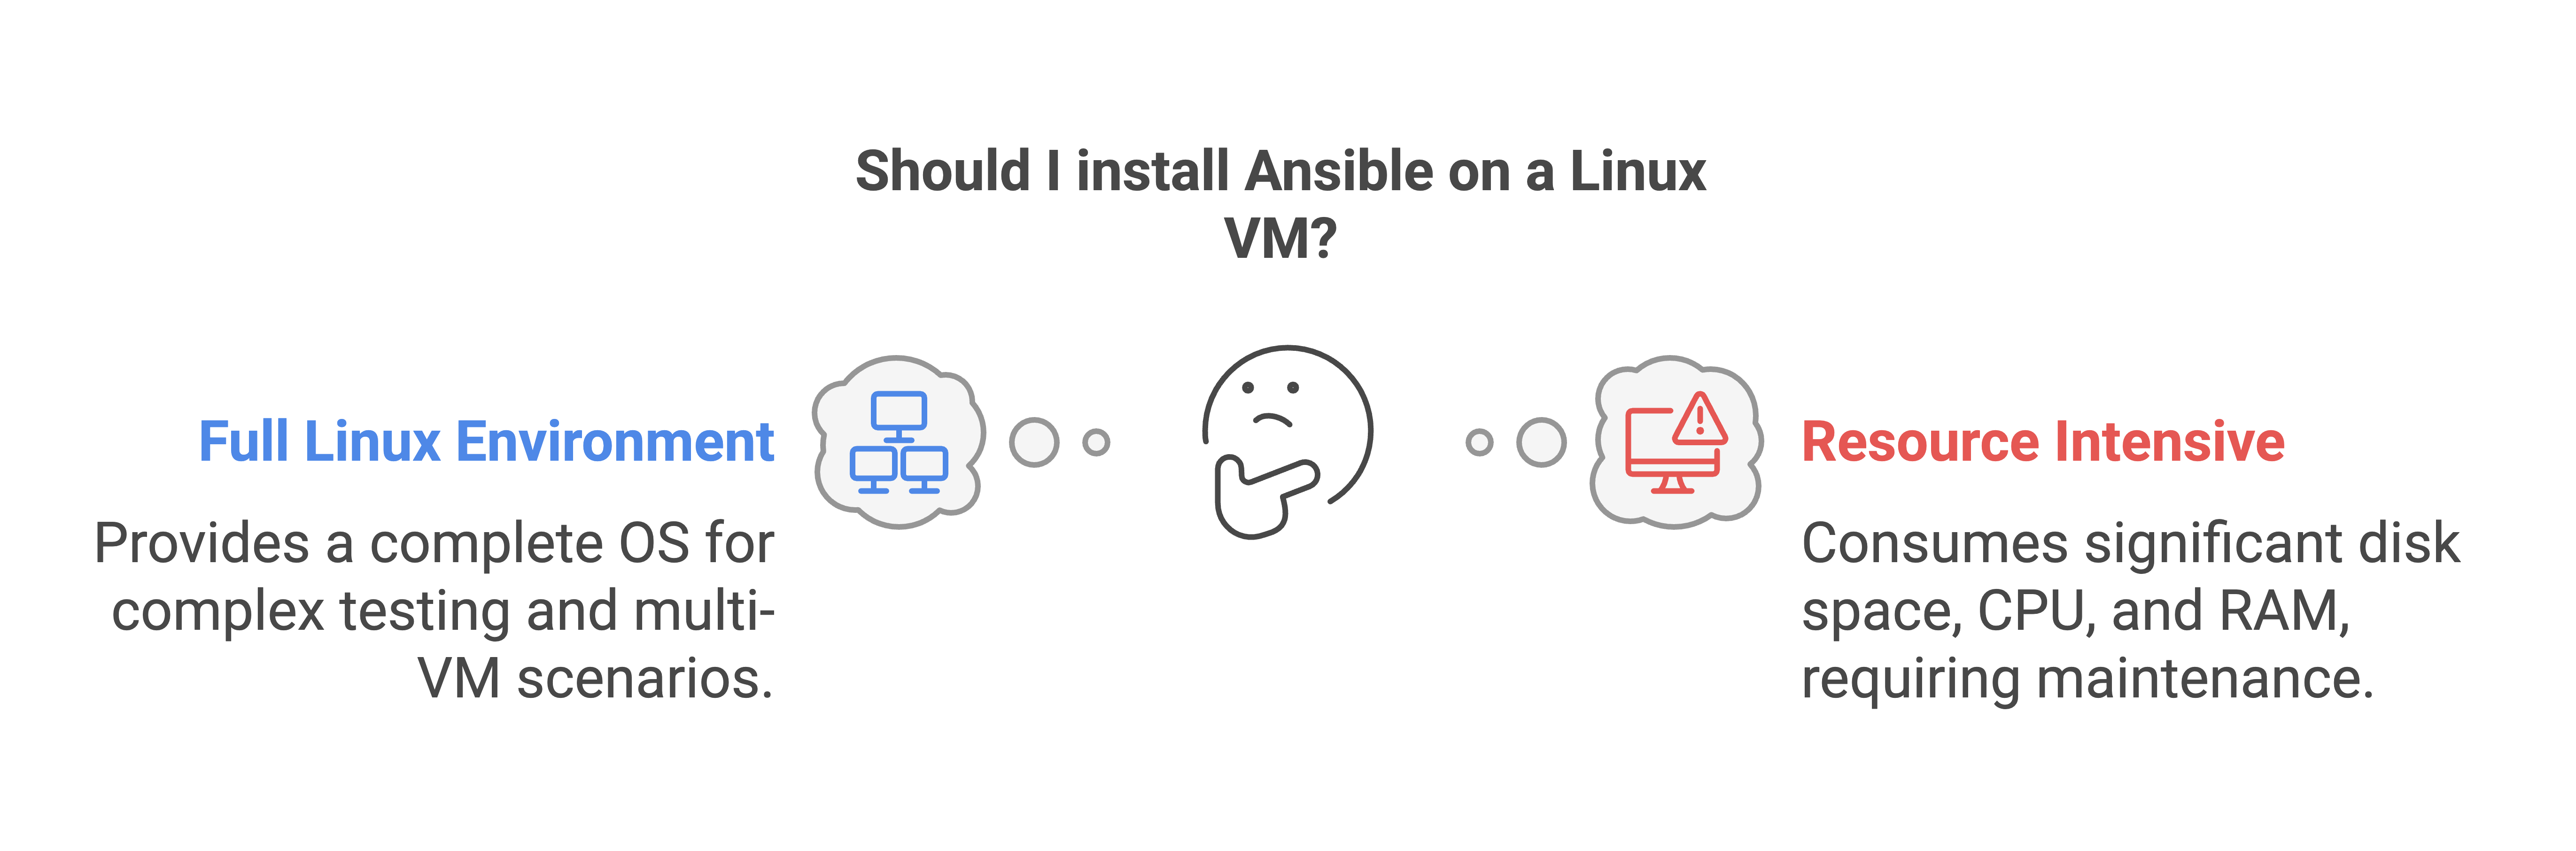
2. Install Ansible on a Linux Virtual Machine
This method requires the use of a type-2 hypervisor—Hyper-V, Oracle Virtualbox or VMWare Workstation Pro for example. While this approach uses more system resources, you get greater isolation and the ability to create VM snapshots (great for testing/rollback).
- Build a VM running your preferred Linux distro (Ubuntu, CentOS, RHEL, etc.).
- Install Ansible in the VM just as you would on a physical Linux machine.
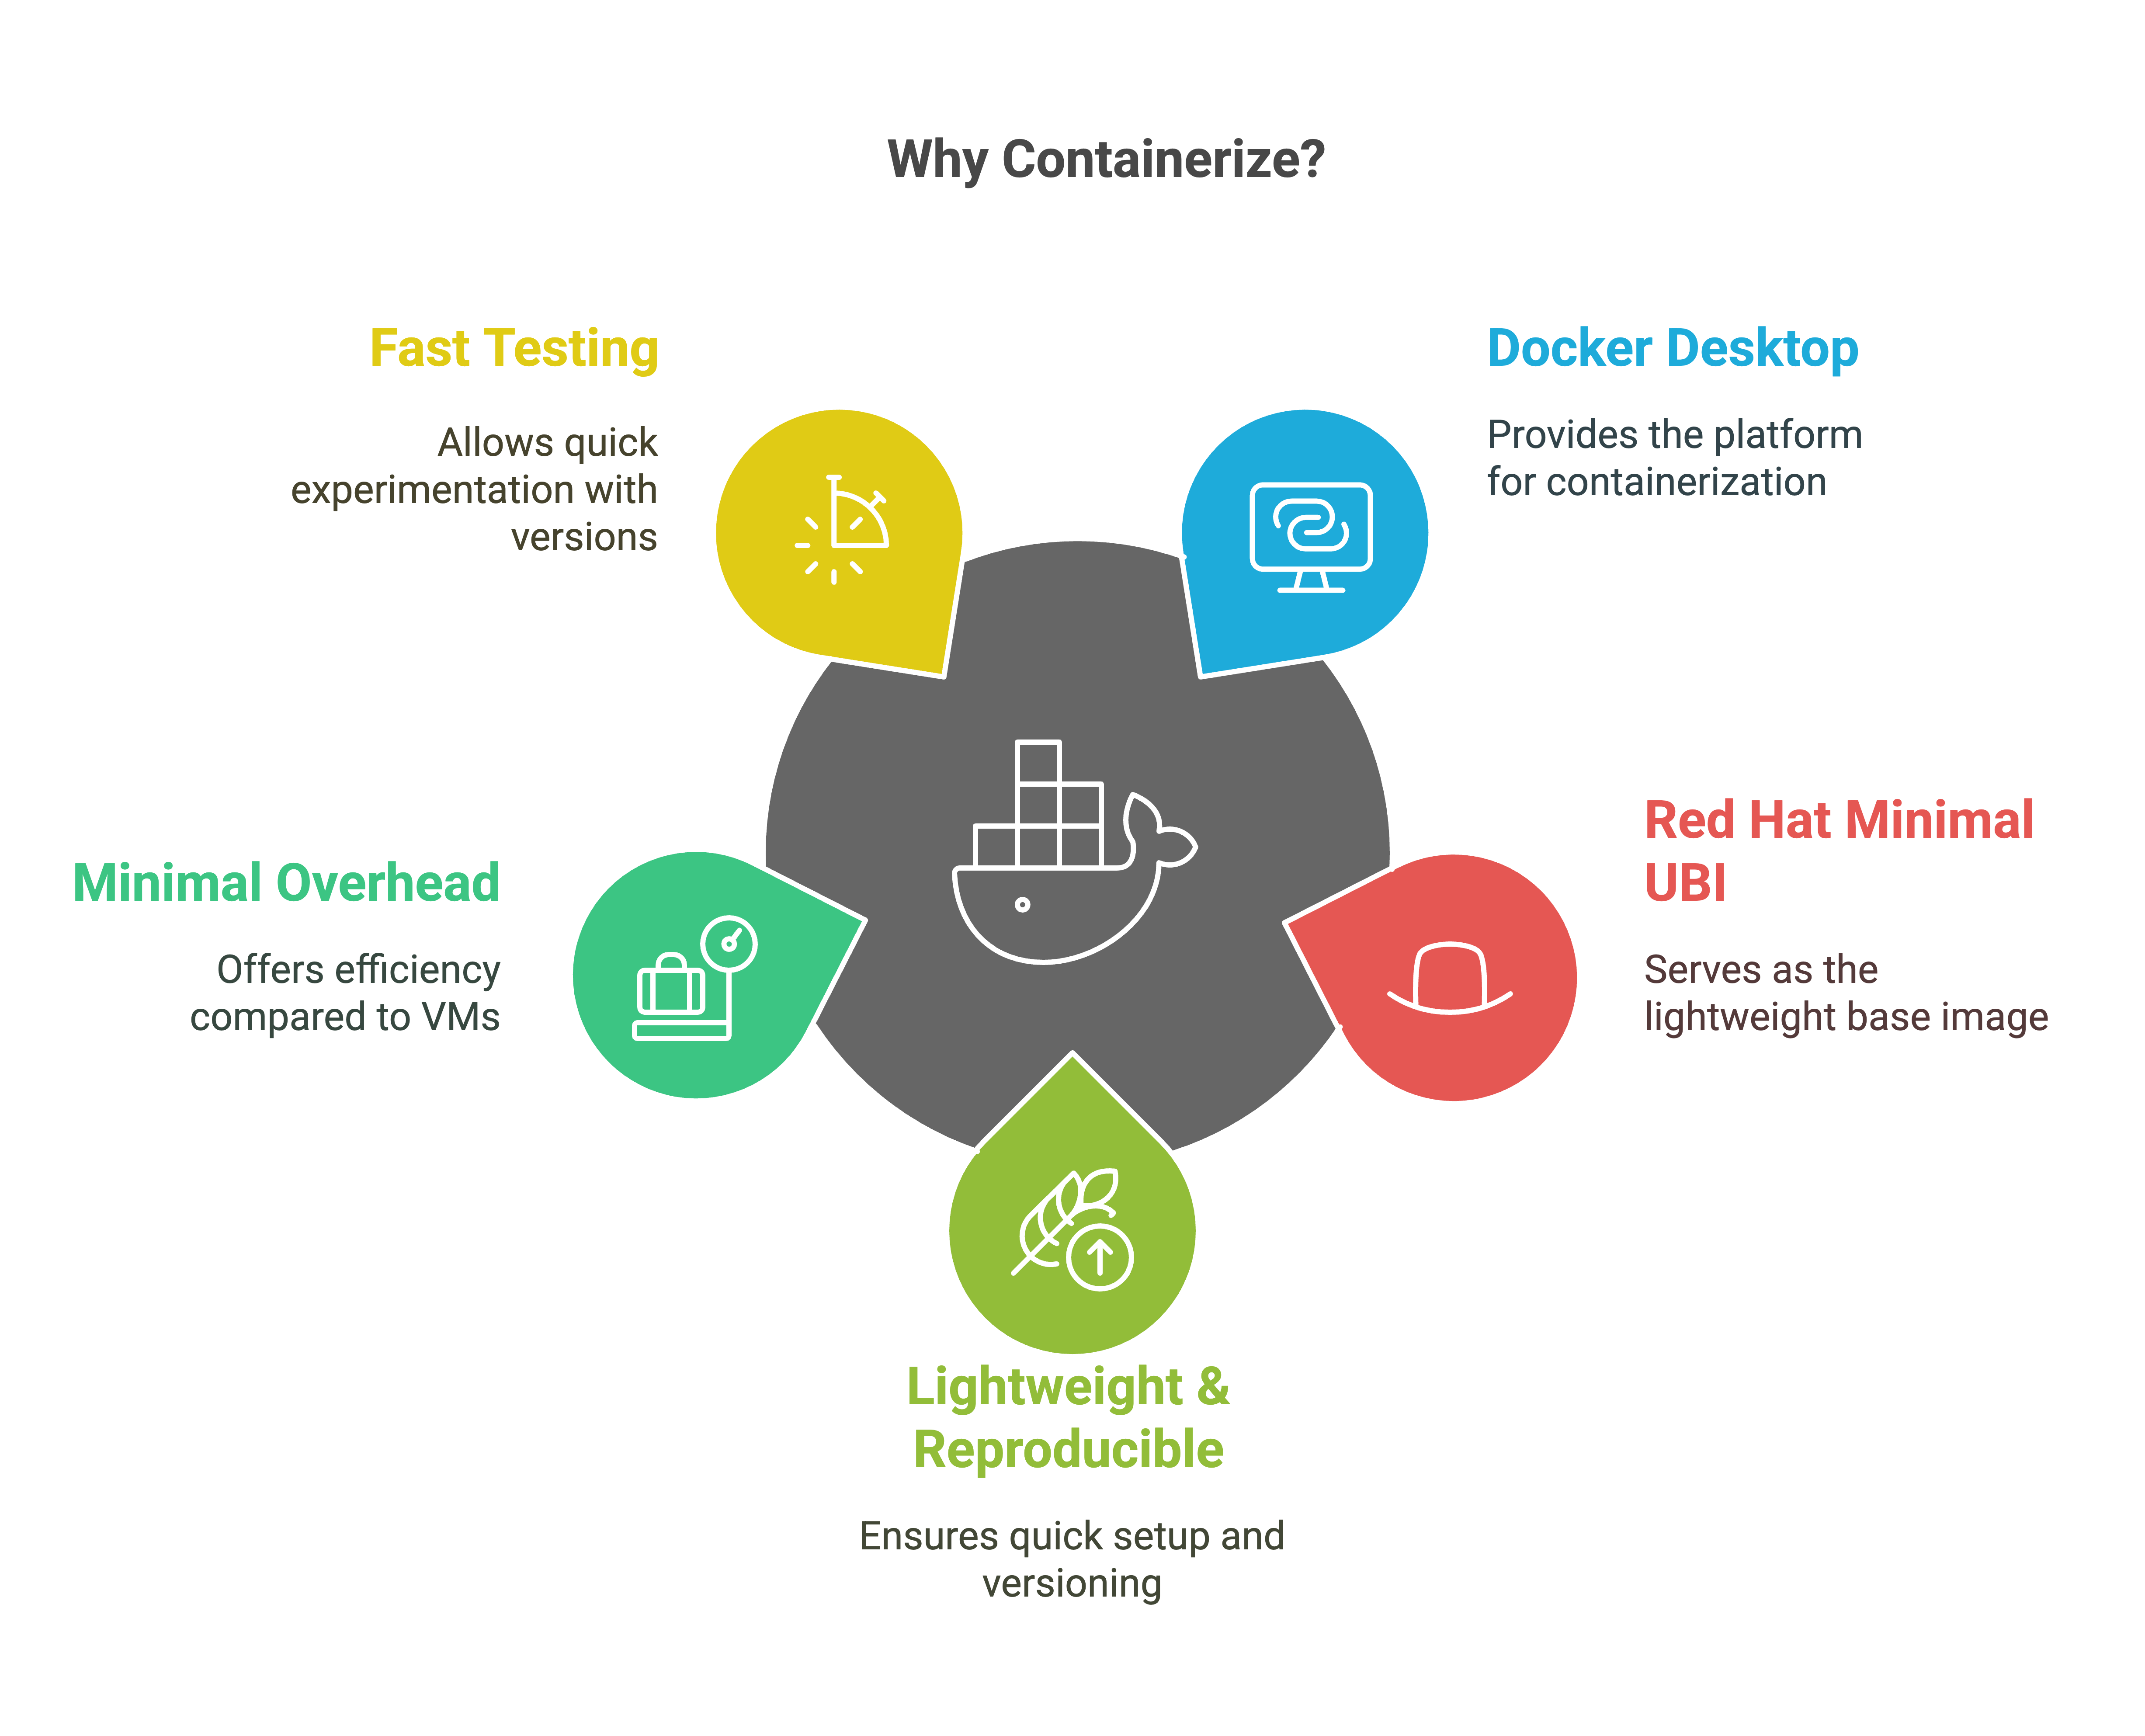
3. Build a Containerized Ansible Environment with Docker Desktop and Red Hat Minimal UBI
A third approach—one that closely resembles Ansible Automation Platform execution environments—is to run Ansible inside a Docker container. Red Hat's Universal Base Images (UBI) are a reliable foundation for this.
Why Containerize?
- Lightweight & Reproducible: Spin up/down quickly and version your environment easily.
- Minimal Overhead compared to a full VM.
- Fast Testing of Different Ansible Versions or dependencies.
I've used the following steps as a fast-track method to get started with Docker Desktop and Ansible.
Steps for Building Your Container
- Install Docker Desktop (Download—https://desktop.docker.com/win/main/amd64/178610/Docker%20Desktop%20Installer.exe). During installation, select "Use WSL instead of Hyper-V" (you'll need WSL to support Linux-based containers).
- Restart your PC after installing Docker Desktop and WSL.
- Start Docker Desktop. Accept licenses and choose the recommended settings. You can skip the sign-in and survey.
- Create a Work Folder. For example:
C:\AnsibleContainer. Inside this folder, create a file named dockerfile (with no extension). Dockerfiles contain instructions for Docker to read from when building images. They are text files that contain all the commands used to assemble an image. We'll keep ours simple. Copy and paste the following text into the file (using Notepad is fine).-
# Use the RHEL 9.5 Minimal Universal Base Image
FROM registry.access.redhat.com/ubi9/ubi-minimal:9.5-1736404155

ARG USERNAME

# Install necessary packages
RUN microdnf update \
    && microdnf -y install unzip \
    && microdnf -y install git \
    && microdnf -y install python3.12 \
    && microdnf -y install python3.12-pip \
    && microdnf -y install iputils \
    && microdnf -y install sshpass \
    && microdnf -y install gcc python3.12-devel krb5-devel krb5-libs krb5-workstation \
    && microdnf -y install tar \
    && microdnf -y install vim \
    && microdnf clean all

# Create a non-root user
RUN useradd -ms /bin/bash $USERNAME
USER $USERNAME
WORKDIR /home/$USERNAME

# Install Ansible and other dependencies as the non-root user
RUN python3.12 -m pip install ansible --user \
    && python3.12 -m pip install ansible-lint --user \
    && python3.12 -m pip install pywinrm \
    && python3.12 -m pip install pywinrm[kerberos]

CMD ["/bin/bash"]
-
Before moving on to the next step, here's what we're telling Docker to build using this set of commands:
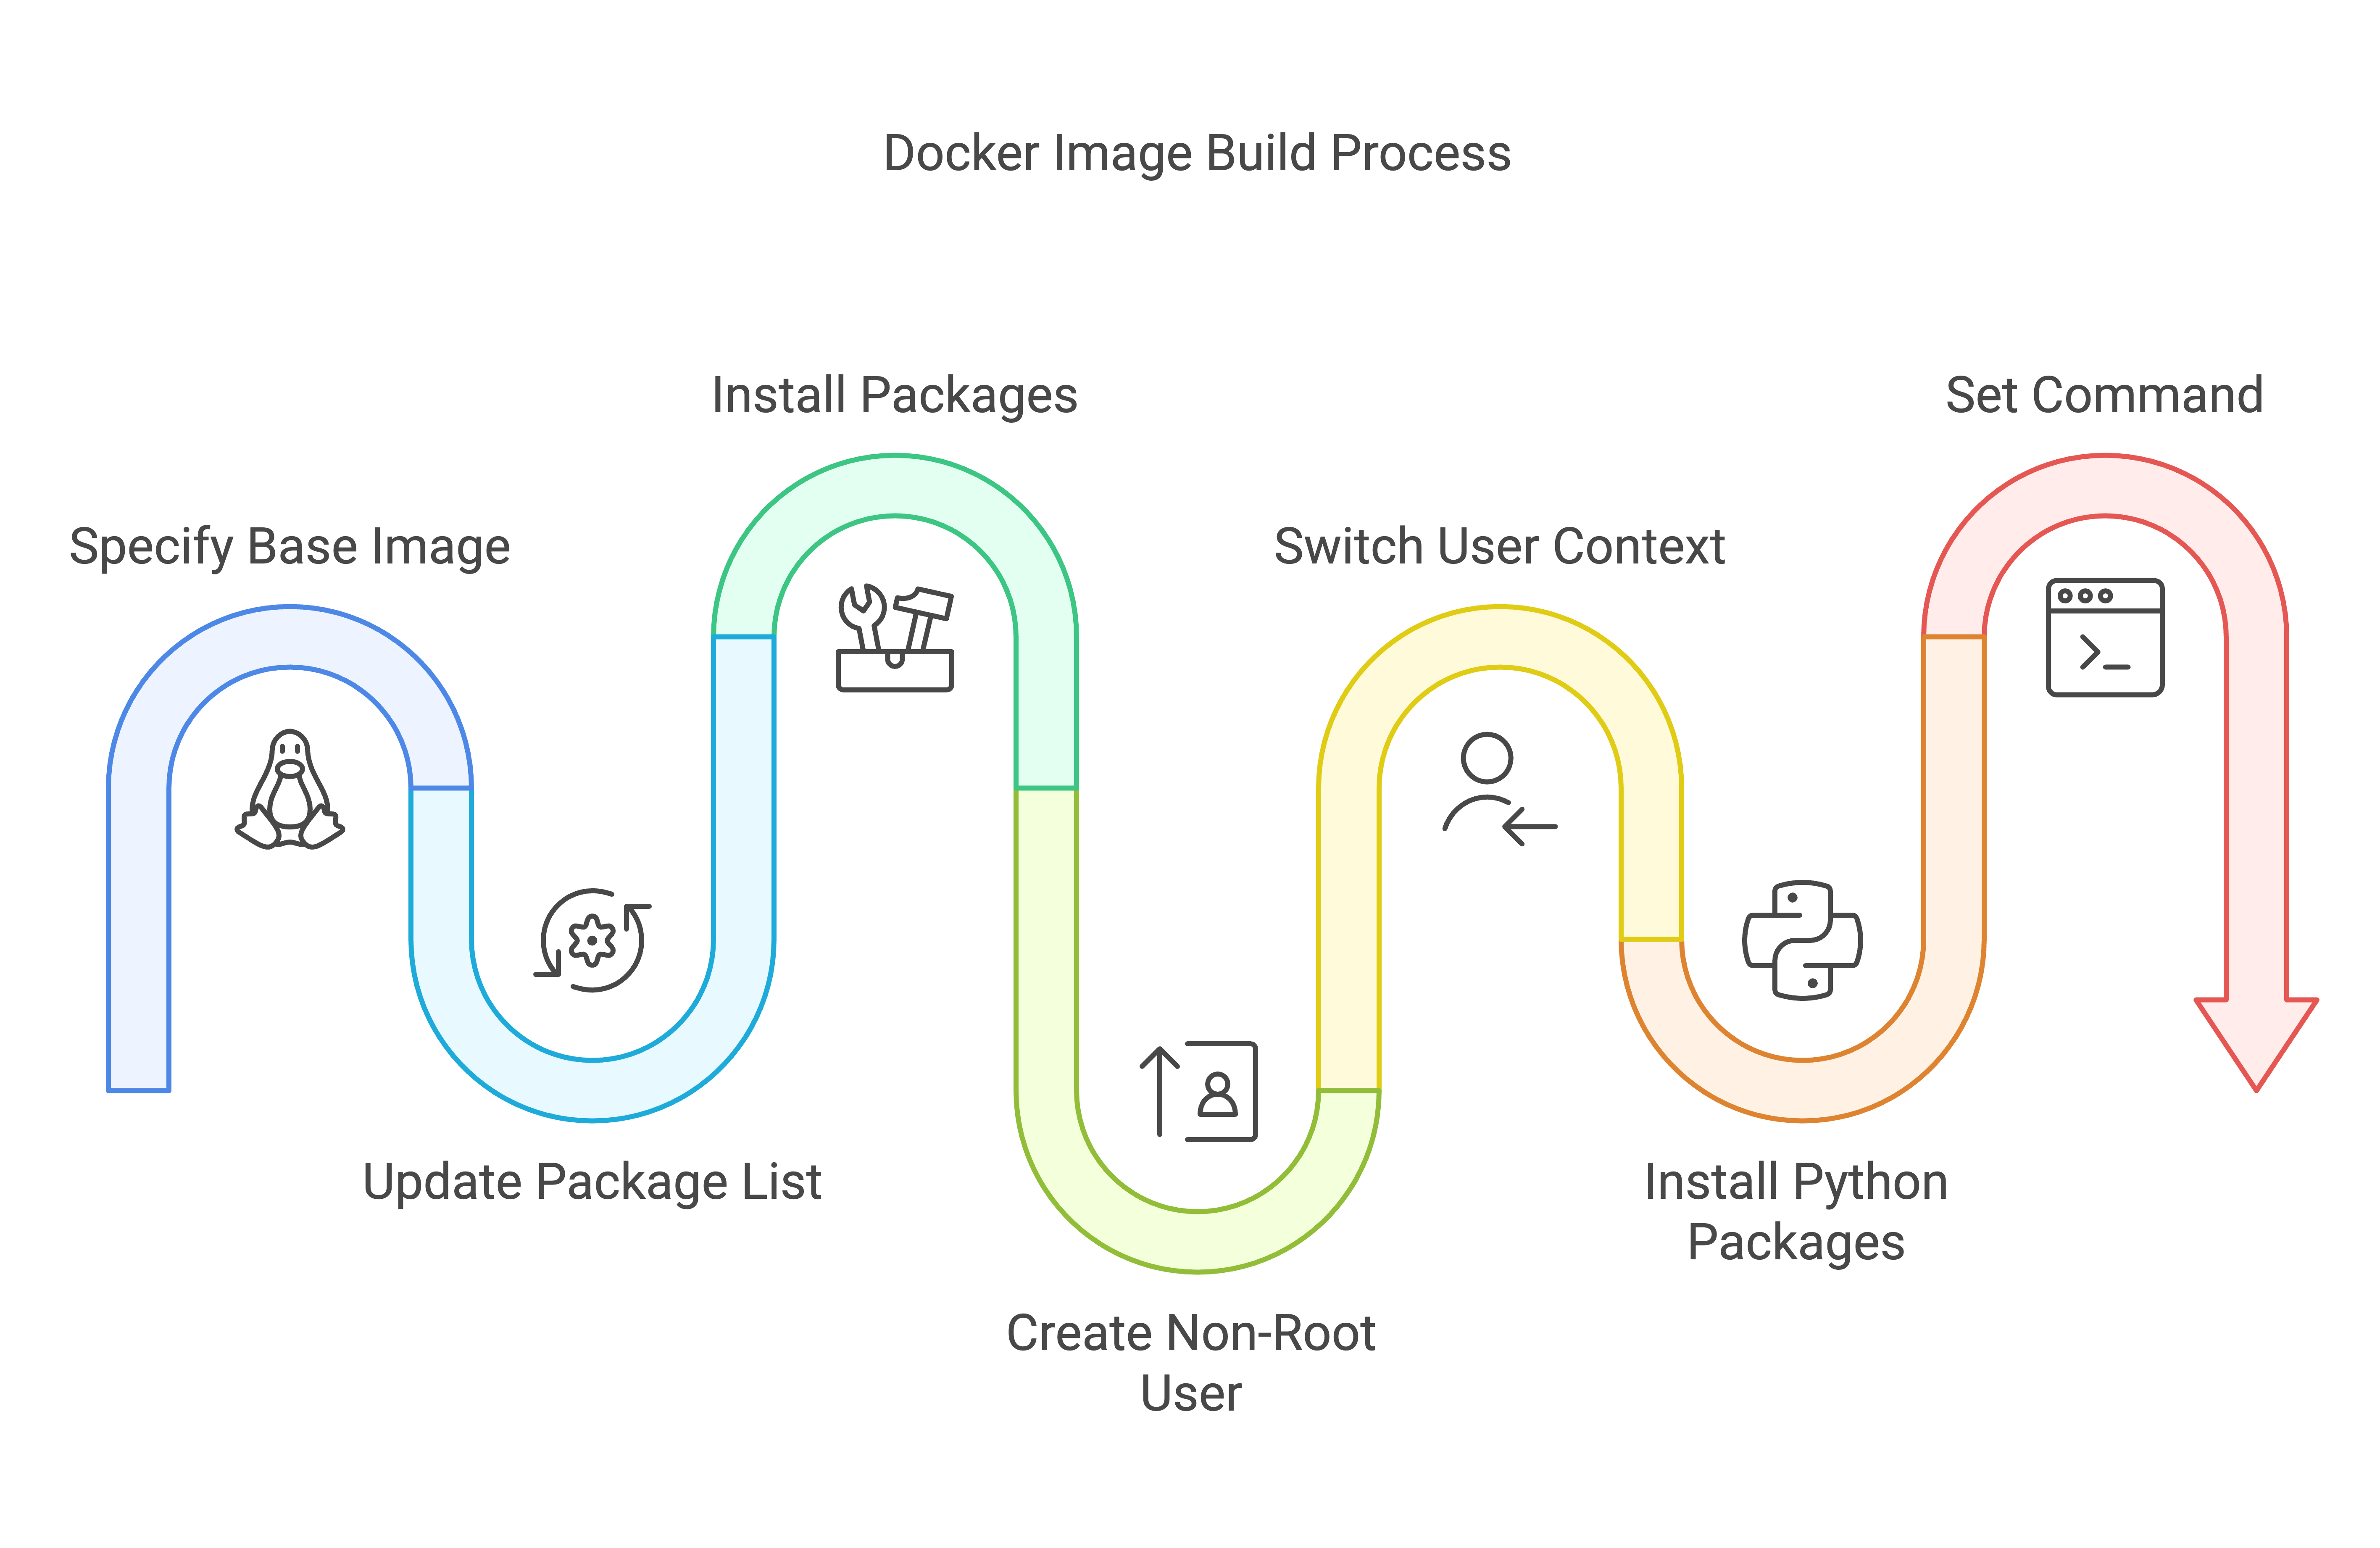
This Dockerfile creates a minimal Red Hat 9.5-based container, installs all dependencies required for Ansible (including Kerberos and WinRM support), and sets up a non-root user environment. By the end, you have a lightweight container image prepped for running Ansible against both Linux and Windows managed hosts.
Back to the build.
- Open a command prompt.
- Navigate to C:\AnsibleContainer (where your Dockerfile is stored).
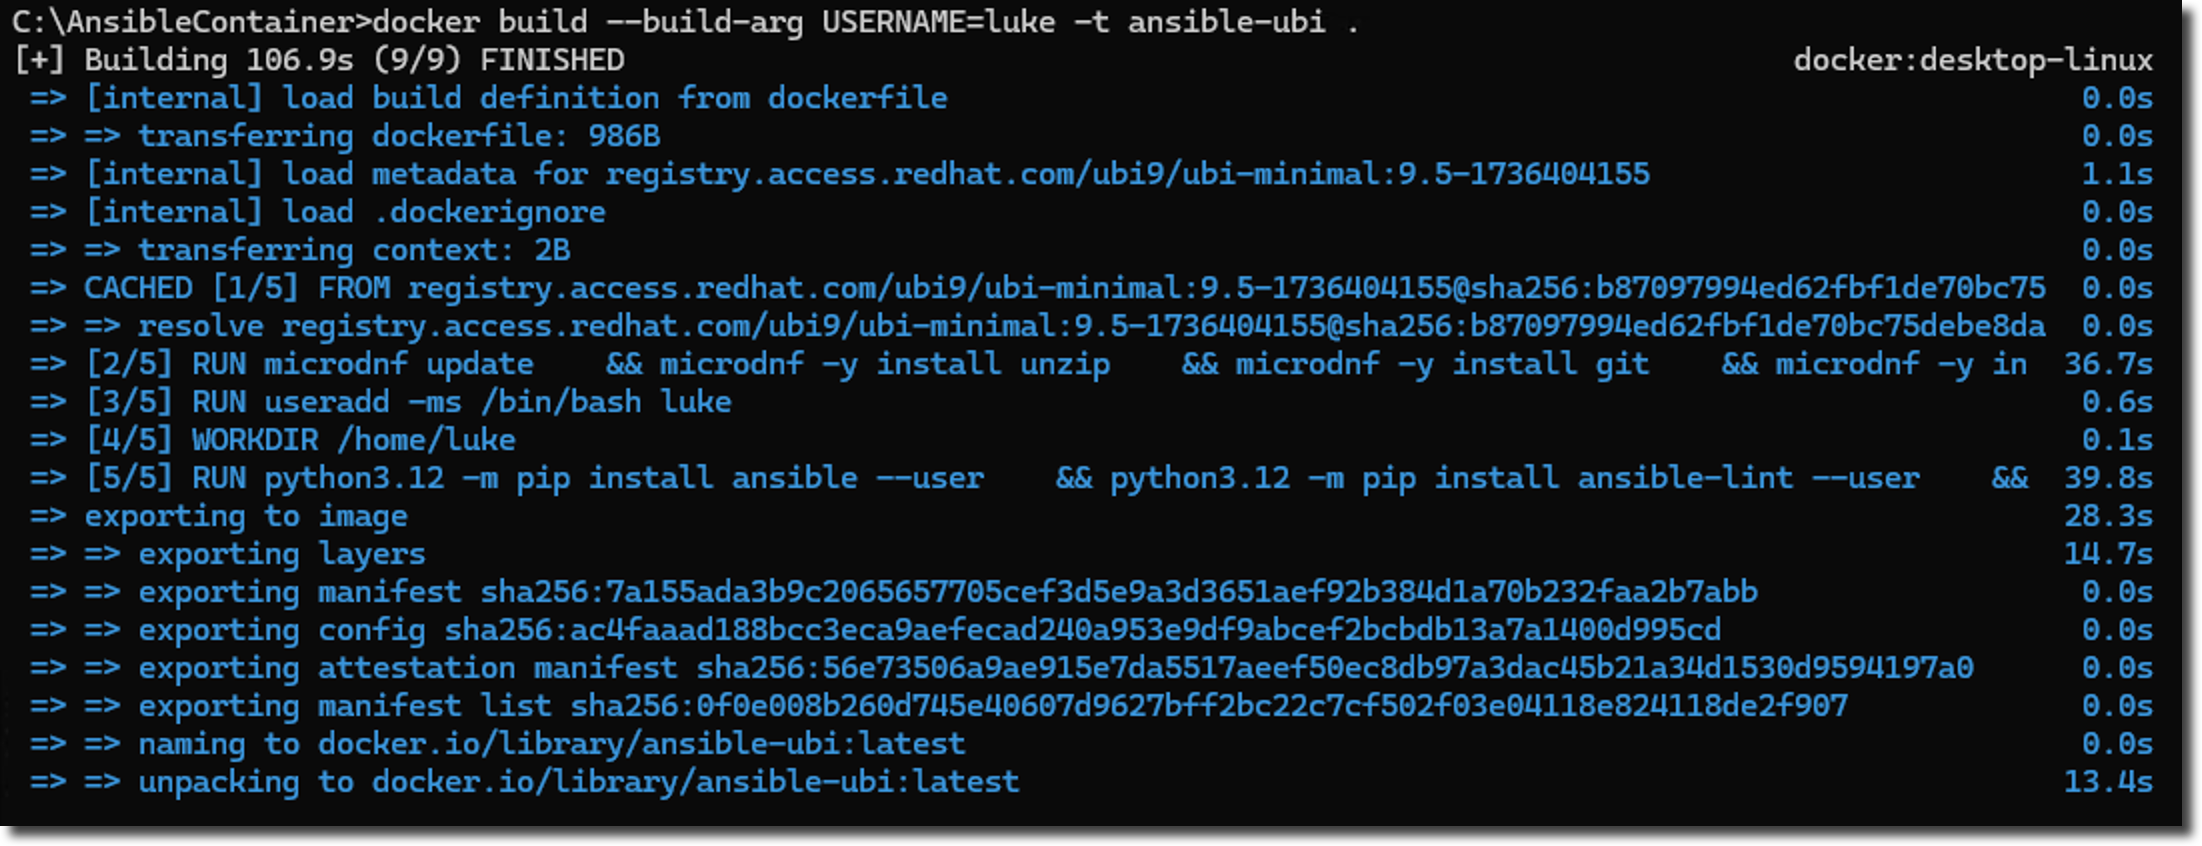
- Run:
docker build --build-arg USERNAME=YourUserName -t ansible-ubi .
After a few minutes, you'll have a new image named ansible-ubi. Be sure to set the USERNAME variable to the username you want to use within the container.
Run a Container Interactively
Now you can run the container and "bind-mount" your local C:\AnsibleContainer folder so you can share files between Windows and the container:
- At the command prompt, run:
docker run --name ansible_container -it --rm -v C:\AnsibleContainer:/ansible ansible-ubi /bin/bash -
Once inside the container, check your Ansible version:
ansible --version - Switch to the /ansible directory by running:
cd /ansible -
From here, you can create your inventory file, create additional folders, or begin creating your playbooks.
- To exit the container, type exit.
The image can be removed either by using the Docker Desktop GUI or the "docker rmi" command.
Congratulations! You've built a containerized environment that can manage both Linux and Windows hosts (it supports WinRM via pywinrm).
See it in action:
Conclusion
Whether you use WSL, a dedicated VM, or a containerized environment, you have multiple ways to bring Ansible to a Windows machine. Each approach has its own trade-offs:
- WSL is lightweight and integrates nicely with Windows (Ansible for SQL Server DBAs: Level 1 goes into more detail).
- Virtual Machines provide a full Linux OS for complex or multi-VM testing.
- Containers offer speed, portability, and a framework similar to Ansible Automation Platform's execution environments.
If you plan to use Ansible Automation Platform to automate and manage Windows or SQL Server, the container approach offers valuable experience in packaging Ansible with all required dependencies into a reproducible artifact—a key skill for building execution environments with Ansible Builder down the road. But, if you're completely new to Ansible, WSL is the quickest way to get started.
Next Steps
- Experiment with each method to see which fits your workflow.
- Check Out My Previous Post on WSL for a more detailed guide on installing Ansible in Windows Subsystem for Linux.
- Explore Red Hat's Documentation for additional base images and advanced container usage.
No matter which route you choose, Ansible is within easy reach from your Windows machine.
Get free access to my "SQL Server Automation: Your First Steps with Ansible" Guide
Get started with Ansible using this free guide. You'll discover how simple Ansible is to use, understand core concepts, and create two simple playbook examples.
When you signup, we'll send you periodic emails with additional free content.