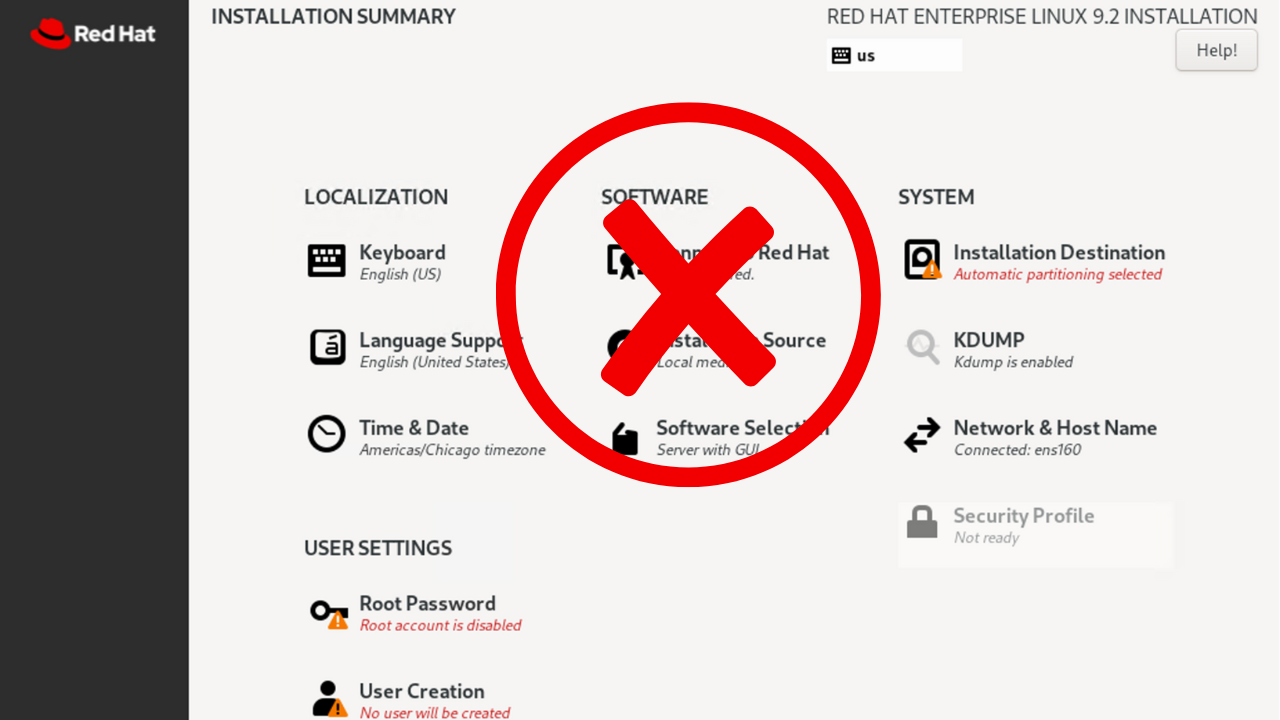
Creating a Basic Kickstart File for Automated Linux Installations
Aug 22, 2023
Similar to how Windows Answer Files help in automating installations of the Windows OS, kickstart files help in automating installations of some Linux distributions. Automating Linux installations can save valuable time and ensure consistency across multiple systems. In my opinion, kickstart files are much easier to read (plain text file) when compared to Windows Answer Files (XML file). Let's take a look at what a kickstart file is, the benefits of using one, and creating a basic one. We'll end with a demo showing how to install Red Hat Enterprise Linux 9.2 using a kickstart file on VMware Workstation Pro.
What is a Kickstart File?
A Kickstart file is a configuration file used by various Linux distributions to automate the installation process. It contains instructions and settings that replace the need for manual input during installation. You can create it using a simple text editor or by copying the anaconda-ks.cfg, located in the /root/ direction, from an existing Linux installation (RHEL / Centos / etc). If you have a Red Hat Customer Portal account, you can also use the Kickstart Configuration Tool. However, this tool does not currently support any advanced partitioning.
Linux Distributions Supporting Kickstart Files:
Not all Linux distributions support the use of Kickstart files. Below is a list of the distros that I'm currently aware of:
- Red Hat Enterprise Linux (RHEL)
- CentOS
- Fedora
- Oracle Linux
Benefits of Using Kickstart:
- Eliminate manual installation steps.
- Reduce human errors and ensure consistency
- Accelerate the deployment of new installations.
Basic Syntax and Structure:
Kickstart files consist of multiple sections, each representing a different aspect of the installation process. These sections must be specified in the correct order; Command section, %packages section, and the %pre and %post sections (these two sections are not required). If you have a Red Hat Customer Portal account (sign up for free here), check out the Kickstart Options documentation for a full list of options.
- Keyboard and Language Configuration - Specify the keyboard layout and language.
- Network Configuration - Define networking settings, including hostname, IP address, and DNS.
- Installation Source - Indicate the installation source, such as local media or network repository.
- Partitioning - Define the disk layout and partitions. You can choose automatic or manual partitioning.
- Package Selection - Specify which packages and groups to install. Avoid using * in the %packages section. This would install every available package. Environments can be specified using the @^ symbol, followed by the environment to be installed. For example, @^graphical-server-environment will install the Server with GUI environment. You can use the Kickstart Configuration Tool to help build the Kickstart config file with basic options.
- Authentication - Set the root password and optionally configure user accounts.
- Post-Installation Scripts - Execute scripts after the installation to perform additional configurations.
Making a Kickstart file available during installation:
There are multiple methods of making the Kickstart file available during installation (see here for additional details);
- HTTP
- HTTPS
- FTP
- NFS
- TFTP
- Local volume (USB stick, ISO, etc)
- To enable the automatic loading of the Kickstart file, the volume label must be named OEMDRV. We'll use this method in our demo to avoid setting up a HTTP web server. However, for multiple simultaneous installations, a centralized location for the Kickstart file would be needed.
Creating a Basic Kickstart File:
- Start with the '#version' directive to specify the Kickstart version.
- Configure language and keyboard settings.
- Configure the timezone.
- Set the root password.
- Use the text installation method vs graphical.
- Install from cdrom.
- Clear the Master Boot Record.
- Remove all existing partitions.
- Initialize the disk label
- Use automatic partitioning
- Install the Server with GUI environment. This will not start the GUI by default. If you want the GUI to load automatically, run "systemctl set-default graphical.target" after installation.
Demo:
As always, I like to show this process in action. You can check out the demo over on YouTube. We build the Kickstart file, using the Kickstart Generator tool, write the file to an ISO, and then install RHEL as a guest VM on VMware Workstation Pro. Below are a few prerequisites if you want to follow along.
- VMware Workstation Pro (trial will work) - Download VMware Workstation Pro
- RHEL 9.2 ISO - You can grab this for free by setting up a Red Hat Developer Subscription - (learn more Red Hat Developer Subscriptions (automatesql.com))
- New-ISOFile - This is a powershell script I use to write the ks.cfg file to an ISO. It's quick and easy to use (Thanks to Alistair for writing this handy script) - https://github.com/TheDotSource/New-ISOFile/blob/main/New-ISOFile.ps1. Rename the file with a .psm1 extension, and we'll use import-module to import it into the session.
- Visual Studio Code (not required but nice to have) - Visual Studio Code - Code Editing. Redefined
Conclusion:
Kickstart files serve as the foundation for automating Linux installations, offering streamlined deployment and consistent system setups. As you advance, explore advanced options, integrate with automation tools, and customize configurations for organization-specific needs. Experiment in a lab environment, leverage documentation and replicate real-world scenarios for practical learning. Kickstart files empower you to deploy systems effectively, making them an essential tool in your automation toolkit.
Additional Resources:
Elevate your IT automation skills and career with courses from AutomateSQL!
Coming soon.
Get free access to my "SQL Server Automation: Your First Steps with Ansible" Guide
Get started with Ansible using this free guide. You'll discover how simple Ansible is to use, understand core concepts, and create two simple playbook examples.
When you signup, we'll send you periodic emails with additional free content.
